
I’ve Always been a huge fan of Instagram. It’s one of the best photo sharing platforms on the internet. While there are many other social media platforms out there, Instagram is the one that has the most users and the most impact. If you’re not already using it, you should start right now! The only problem with Instagram is that you can only upload square photos. In this article, I’ll show you How to Resize Photos for Instagram.
When you upload a photo to Instagram, you get the option to change the dimensions of your image. You can choose between landscape, portrait, and square orientations. The default setting is square, but it is important to consider the orientation of the image before choosing it.
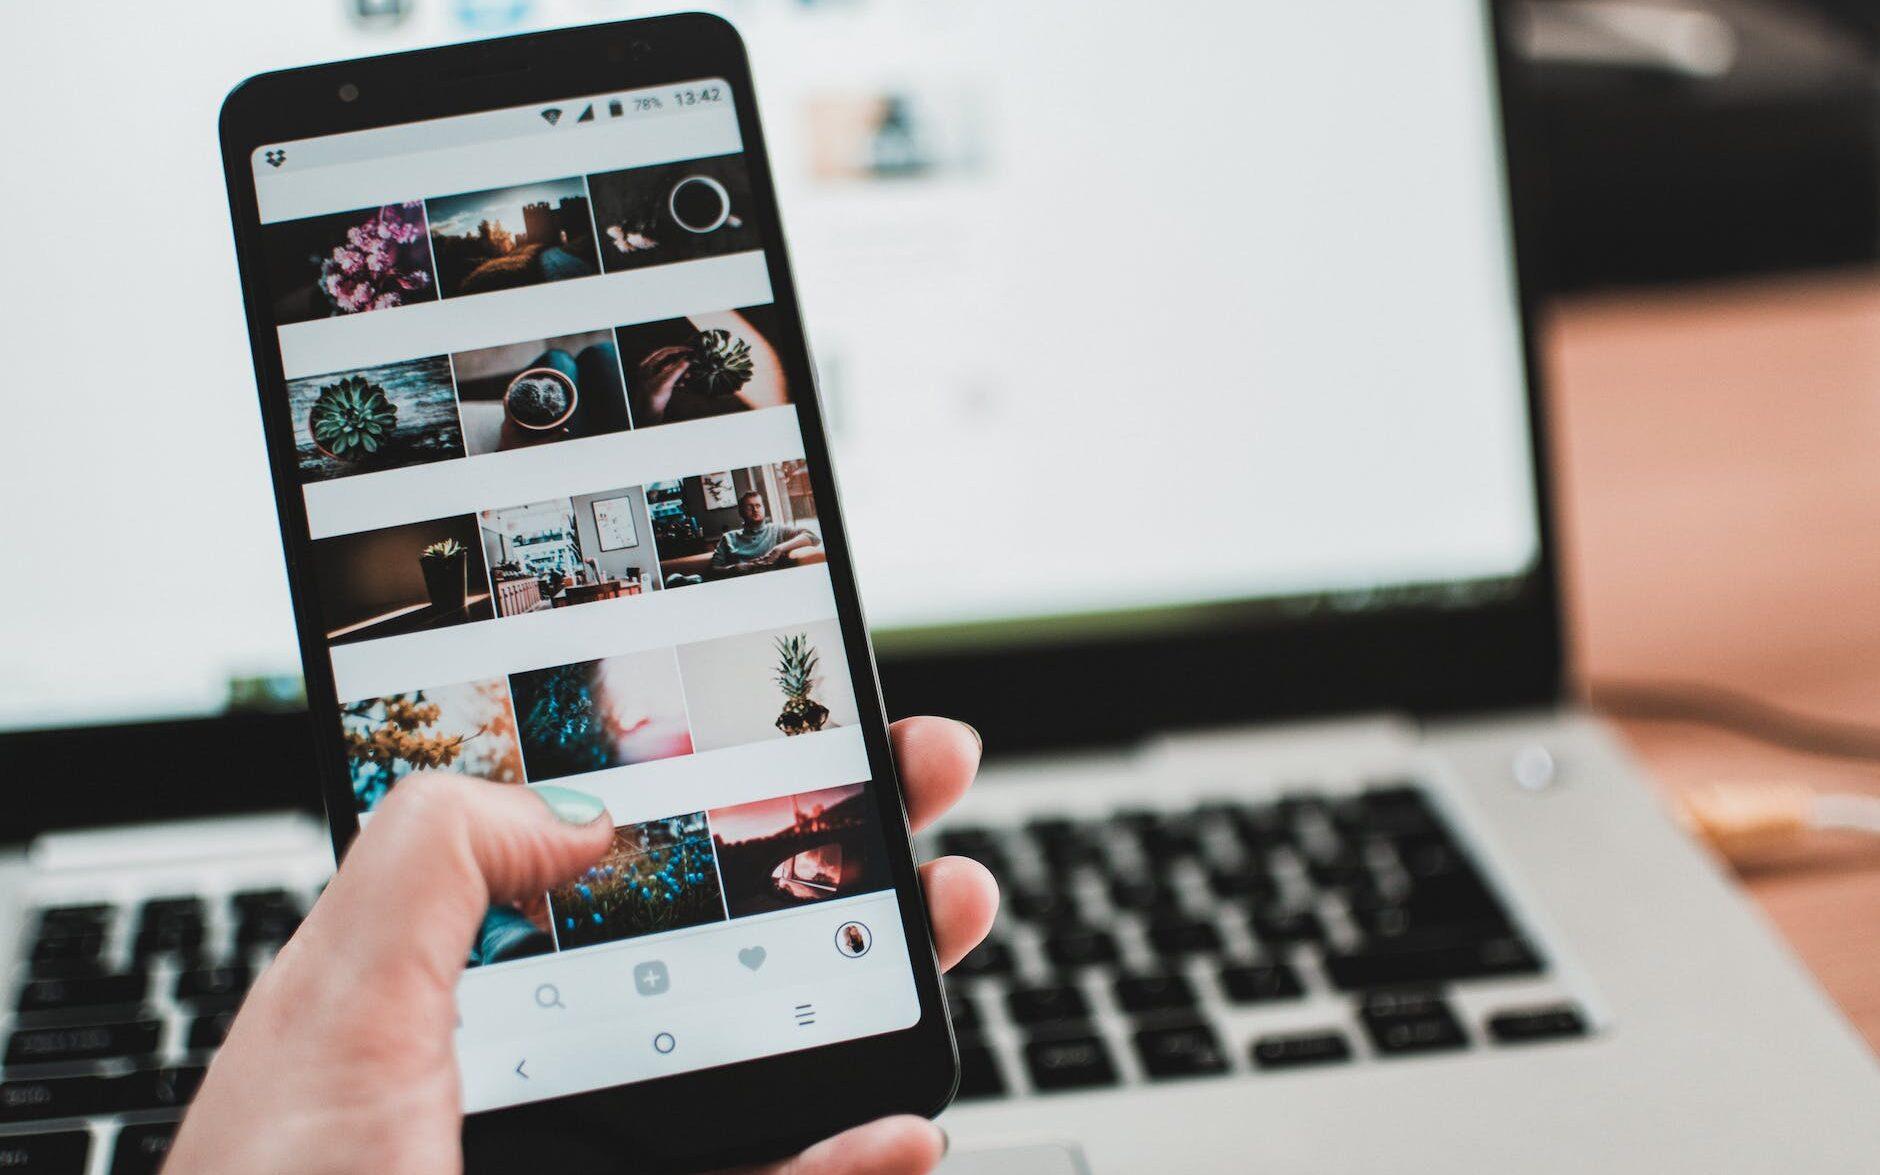
Here I Am Sharing Best Ways to Resize and Edit Photos for Instagram

1. How To Resize Photos For Instagram
Here’s an easy way to resize your images for Instagram.
- Click on the image you want to edit and click on “Edit Image” from the top menu bar.
- Select the desired orientation for your image from the dropdown menu.
- Once you have selected the desired orientation, click “Done.”
- Finally, click “Resize” to resize your image for Instagram.
- Click “Save” to save your changes.
- You can then share your edited photo using the sharing tools from Instagram.
- If you are looking for more tips on how to make your Instagram posts more successful, check out this post.
2. How To Resize Photos For Instagram in Photoshop
I’ll show you how to resize photos for Instagram and other photo apps without compromising the quality of the original.
Instagram has recently added the ability to upload photos up to 8K resolution, so it’s important to resize these images as efficiently as possible to save disk space and avoid degrading quality.
STEP 1: Import the Image
The first step is to import the image you want to resize into Photoshop.
STEP 2: Create a New Layer
Next, create a new layer by pressing Alt/Cmd+N or File > New.
STEP 3: Size the Canvas
Resizing a photo is pretty much the same as resizing any other layer. Go to the Layers palette and double-click the layer name to bring up the options.
Once you open the canvas size window, change the Width and Height fields to your liking.
STEP 4: Edit the Photo
After you’ve sized the canvas, it’s time to edit the photo. The important thing here is not to touch the actual image itself. Instead, use the marquee tool or the Magic Wand Tool (W) to select only the parts of the photo that you want to keep.
STEP 5: Apply the Adjustment Layers
Once you’ve cropped the image to your liking, it’s time to use an adjustment layer.
Go to the Adjustments Panel on the top toolbar and add a Levels Adjustment Layer.
On the Layers Palette, drag the red arrow to the Adjustments panel.
You’ll notice a little red circle next to the layer name. This means you now have an Adjustment Layer applied to the active layer.
This layer will let you fine-tune the photo’s brightness, contrast, and overall appearance.
STEP 6: Save for Web
Once you’re done editing the photo, make sure that you save it for the web in the Quality settings. This will prevent the image from being scaled up to the maximum resolution when uploaded to Instagram.
3. Resize Image for Instagram Without Cropping
If you’re serious about Instagram, you must get some experience. You can upload pretty much anything to Instagram and hope for the best.
But why take a chance? Instead, I’ll show you how to resize and make your photos look amazing using a few free tools that you can use for both Instagram and Facebook.
You don’t need any fancy editing software. The best tool for the job is Adobe Photoshop. However, you also have plenty of other alternatives. Here are some of the best:
Step 1: Download a Photo-Resizing Tool
You can do this on your computer or use an online photo editor to resize your photos. Finding a free tool is best, so here are a few options.
Instagram is a mobile photo-sharing app focused on quick, beautiful photos. Your photos are already optimized for social sharing, so you shouldn’t worry too much about adjusting them for Instagram.
However, if you want to make sure that your photos look their absolute best on Instagram, then you can use one of these sites to resize your photos for social media.
These websites will automatically resize your photo based on the settings you choose.
Step 2: Adjust Your Photo Settings
In most cases, the default settings are fine. But, if you have specific needs, you can adjust them on the site.
You can change the aspect ratio from 16:9 to 4:3.
You can change the width of the photo.
Can crop the photo to remove unnecessary information.
Also, do Much More Work.
Conclusion:
This is an important step in creating a beautiful post. We all know that there are many tools available online that can help us to edit images, but some of them are too complicated for most people. So, we decided to create this post to simplify things for you and let you know How to Resize Photos for Instagram.
Other Posts:
1. 5 Apps to Remove Unwanted Objects from Photos Free
2. App That Recognizes Songs by Humming: App to Identify Music